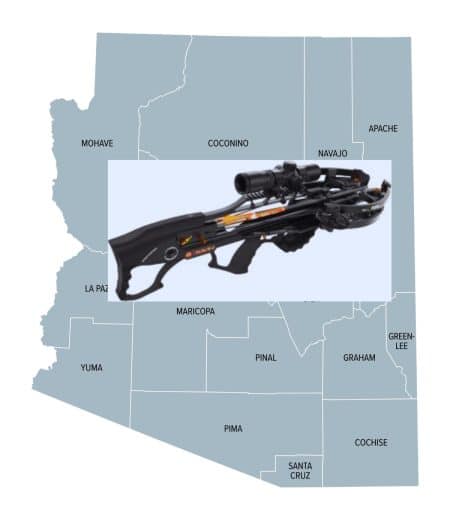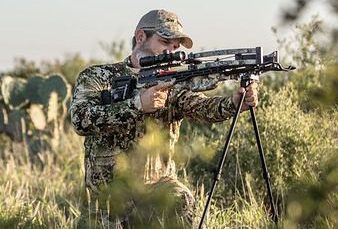

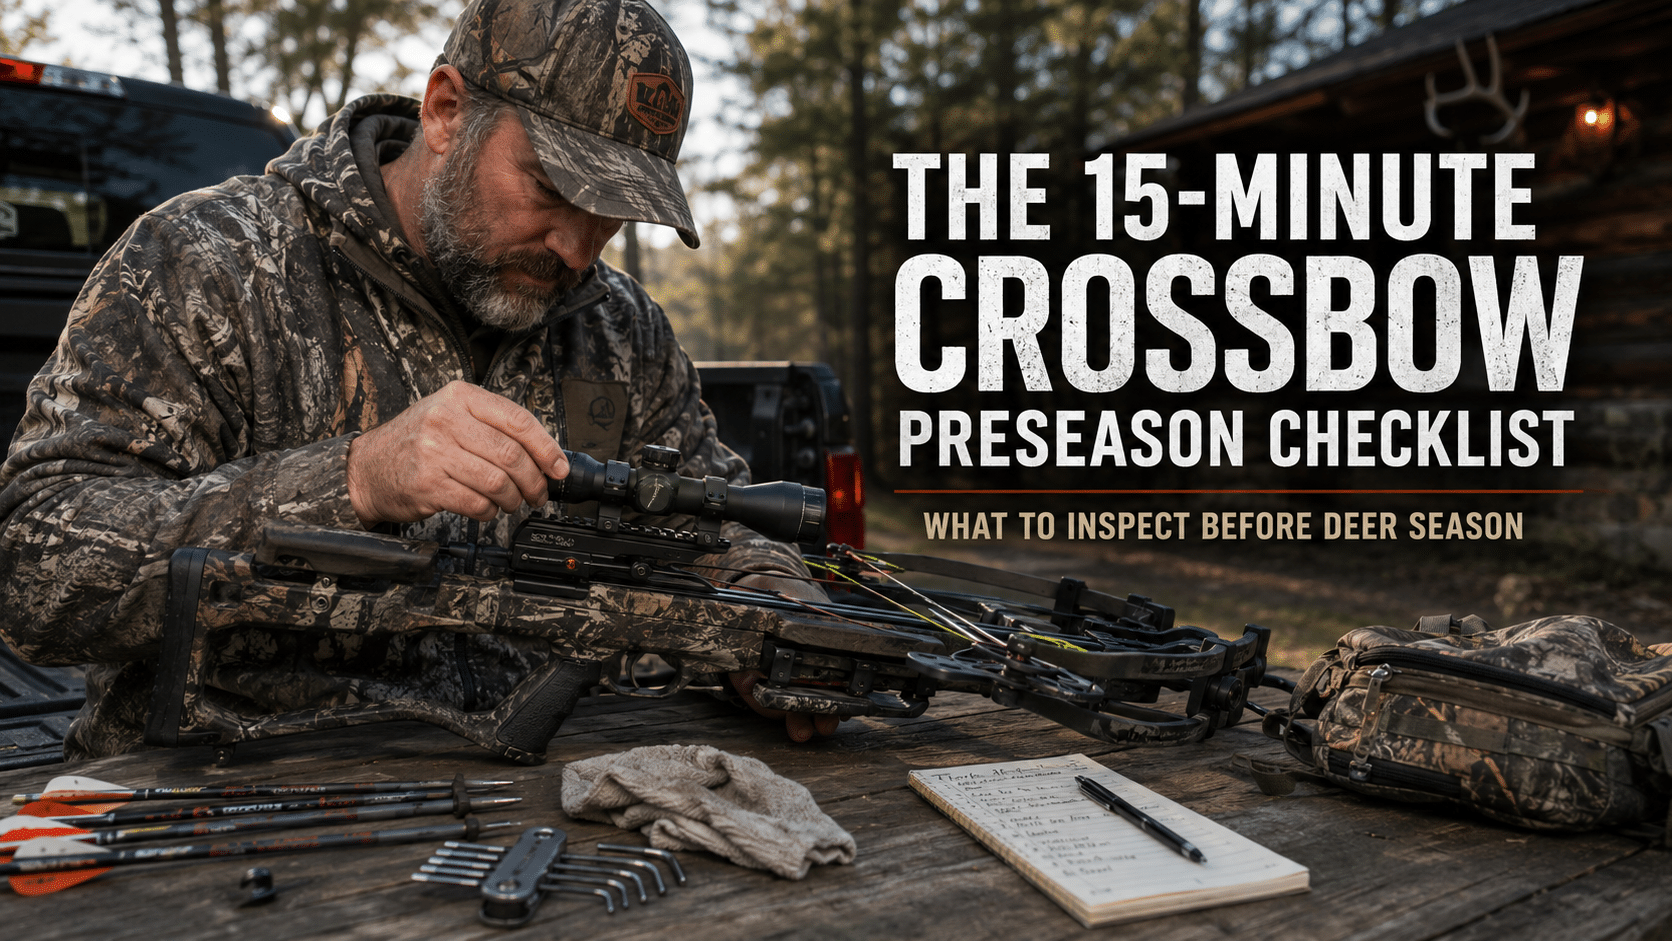

A crossbow can look ready for deer season while hiding a loose scope ring, damaged center serving, cracked nock or cocking rope that is beginning to fray. Those problems are much easier to correct on a well-lit workbench than they are at the range—or in the dark on opening morning.
A preseason inspection does not need to become an all-day project. Working methodically from the limbs to the broadheads, a hunter can identify most visible wear, loose accessories and equipment concerns in about 15 minutes. The goal is not to completely service the crossbow. It is to determine whether the bow is ready for the range or needs professional attention first.
That distinction matters because modern crossbows store tremendous energy. A damaged limb, broken strand, separated serving or malfunctioning safety should never be treated as a minor inconvenience. If any structural or mechanical component looks questionable, stop the inspection and contact the manufacturer, an authorized dealer or a qualified crossbow technician.
Maintenance instructions also vary by manufacturer and model. Some crossbows require rail lubricant and string wax at specified intervals. Other systems call for serving fluid or warn against applying wax in certain areas. The owner’s manual for the exact crossbow should always take precedence over generic maintenance advice.
Finally, remember that a bench inspection cannot confirm hunting accuracy. Once the crossbow passes the following checklist, it still needs to be tested with the exact scope settings, bolts and broadheads that will be carried during deer season.
The 15-Minute Inspection Plan
Limbs and Cams
Look for cracks, splinters, deep gouges, bent parts and visible alignment problems.
Inspect This Area
String and Cables
Check the center serving, strands, end loops and high-contact cable areas.
Inspect This Area
Rail and Cocking System
Remove grit and inspect ropes, hooks, cords, crank parts and trigger-box movement.
Inspect This Area
Hardware and Stock
Check accessory mounts, the stirrup, sling studs, stock adjustments and quiver.
Inspect This Area
Scope and Mounts
Test the rings, base, reticle, illumination, battery, lenses and eye relief.
Inspect This Area
Bolts and Nocks
Inspect every shaft, vane, insert and nock—not merely one bolt from the group.
Inspect This Area
Broadheads
Inspect blades, tips, ferrules and retention parts, then spin-test every assembly.
Inspect This Area
Final Readiness Check
Confirm the safety procedure, case, quiver, cocking handle and unloading equipment.
Inspect This Area
Use this table for a fast overview. The detailed sections below explain how to evaluate each area and when a problem should take the crossbow out of service.
This is a general inspection framework. The owner’s manual and current manufacturer service instructions for the exact model take precedence.
Crossbow Preseason Inspection Table
Area
What to Inspect
Pass Standard
Stop Using the Crossbow
Limbs and cams
Edges, surfaces, axles, cam tracks and visible alignment
No cracks, splinters, deep gouges or bent parts
Crack, splinter, bent cam or displaced structural hardware
String and cables
Center serving, strands, end loops and contact areas
Serving is tight and no strands are broken
Broken strand, burned fibers or separated serving
Rail and trigger
Debris, corrosion, residue and normal safety operation
Clean track and smooth, consistent operation
Binding, grinding or inconsistent safety behavior
Cocking system
Ropes, hooks, crank, straps, cords and trigger box
Hooks seat evenly and cords show no damage
Frayed rope, bent hook, slipping crank or uneven draw
Hardware and stock
Scope base, rings, stirrup, sling, quiver and stock
User-serviceable mounts are secure and undamaged
Cracked stock, stripped threads or loose structural hardware
Scope
Mount movement, reticle, illumination, battery and lenses
Clear image, working illumination and rigid mounts
Loose rings, damaged reticle or internal fogging
Bolts and nocks
Shafts, vanes, inserts, nocks and finished weight
Straight, undamaged and model-compatible
Cracked shaft, loose insert or damaged nock
Broadheads
Blades, ferrule, tip, retention parts and spin
Sharp, secure and spinning without wobble
Bent ferrule, chipped blade or visible wobble
Set the unloaded, uncocked crossbow on a stable surface in bright light. Keep all bolts away from the flight track until the bench inspection is complete.
What to Have on the Workbench
Inspection Tools
Model-Specific Supplies
Changing strings or cables, correcting cam timing, tightening structural limb hardware or opening a trigger assembly may require a bow press, special tools or a manufacturer-authorized technician. When the manual does not clearly authorize the work, stop and contact a dealer.
Minutes 0–2
Wipe dust and dried debris from the limbs and cams with a soft cloth. Examine the top, bottom and exposed edges of every limb, including the areas near the riser, limb pockets, axles and cam tracks.
Run a clean cotton ball lightly along the exposed limb edges. Fibers that catch can reveal splintering or a rough surface that is difficult to see. Compare both sides of the bow for symmetry, but do not attempt to correct cam timing or limb position unless the manufacturer provides a specific user procedure.
Inspect the riser, foot stirrup and visible axle hardware at the same time. Surface dirt is normal. Cracks, bent components, displaced retainers and hardware that has visibly shifted are not.
Inspect the Limbs, Cams and Axles
Any crack, splinter, deep gouge or unexplained change in cam position should take the crossbow out of service.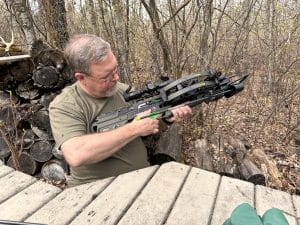
Ready to Continue
Stop and Service
Minutes 2–5
Rotate the crossbow under the work light and inspect the entire visible length of the string and cables. Look for cut strands, severe fuzzing, flat spots, melted-looking fibers, discoloration and sections that appear narrower than the surrounding material.
The center serving deserves the closest inspection because it contacts the rail, trigger latch and nock. Check for separation, movement, flattening and exposed string fibers. Serving that has opened near the trigger area can interfere with consistent nock engagement.
Do not apply a universal waxing routine. TenPoint, Ravin, Barnett and other manufacturers specify different products and application points. Use only the string conditioner, serving fluid, cable treatment or rail lubricant approved for the exact model.
Inspect the String, Cables and Center Serving
Pay particular attention to the center serving, cam tracks, cable crossings and end loops. A broken strand or badly separated serving is more than normal cosmetic wear.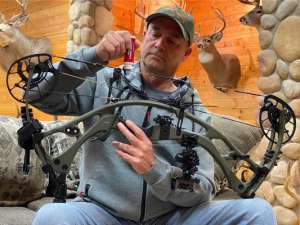
Some crossbows call for wax on exposed strands. Other systems specify serving fluid and warn against applying wax to the string, serving or cables. Applying the wrong product can collect debris, interfere with a trigger system or shorten component life.Ready to Continue
Stop and Service
Minutes 5–7
Remove dust, grit and old residue from the rail or flight track using the cleaning method approved by the manufacturer. Do not flood the rail, trigger area or cocking mechanism with oil. Apply lubricant only where the manual directs.
Inspect rope-cocker hooks for bends, chips and uneven wear. Check ropes, crank cords and straps for cuts, glazing and fraying, especially where they enter a housing or travel around a pulley. Both hooks should seat consistently and pull the string evenly.
A gritty trigger, slipping crank, binding draw system or safety that does not operate consistently requires service. Do not defeat the anti-dry-fire system or pull the trigger on an unloaded crossbow to test it.
Check the Rail, Trigger Area and Cocking System
The flight track should be clean, and the cocking system should operate without damaged ropes, hooks, cords or crank components.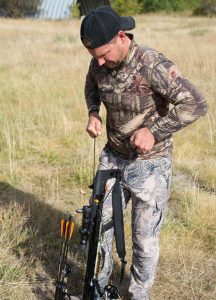
Ready to Continue
Stop and Service
Minutes 7–9
Check the scope base, scope rings, quiver bracket, sling studs, cheekpiece, buttstock, foot stirrup and other user-serviceable fasteners. Use the correct driver and the manufacturer’s torque value when one is provided.
Do not automatically tighten every visible bolt. Limb, riser, cam and trigger hardware may require a specific sequence or professional service. If a structural fastener appears loose, note its location and consult the manual or dealer.
Inspect composite and molded stock areas for cracks around adjustment points, screws and sling studs. Confirm that adjustable components lock firmly and that the quiver cannot rotate into the limbs, string or cocking path.
Check the Hardware, Stock, Stirrup and Sling
Transportation and shooting vibration can loosen accessory hardware even when the crossbow has not suffered visible damage.
Minutes 9–11
Hold the crossbow by the stock and gently test the scope, rings and base for movement. The optic should not rotate in the rings, and the base should not shift on its rail. Look for scratches, gaps and old witness marks that indicate movement.
Inspect both lenses for cracks, heavy residue and internal fogging. Turn on the illumination, check the settings you use most often and install a fresh battery before the season. Confirm that the reticle is sharp and that the speed ring, elevation turret and windage turret have not moved unexpectedly.
Recheck eye relief while wearing normal hunting clothing. Heavy jackets, elevated shooting angles and awkward blind positions can change head placement enough to make an otherwise adequate scope difficult to use.
Inspect the Scope, Rings and Reticle
A crossbow that suddenly groups in a different place may have an optic or mounting problem rather than a damaged bow.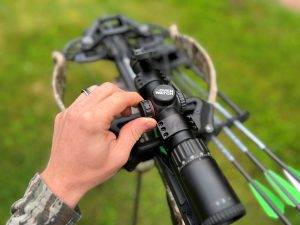
Minutes 11–13
Clean each shaft and rotate it slowly under bright light. Carbon bolts should be checked for cracks, splinters, crushed areas and unusual surface lines. Aluminum bolts should be checked for dents and bends. Never shoot a shaft that makes a cracking sound or shows questionable structural damage.
Inspect each nock for cracks, deformation and correct orientation. Confirm that the nock style is approved for the crossbow’s string and anti-dry-fire system. Check every vane for tears, lifting edges and contact damage, then test the insert or outsert for movement.
The finished hunting weight includes the shaft, nock, vanes, insert and broadhead. Confirm that the complete bolt remains at or above the crossbow manufacturer’s minimum. Number each bolt so an unexplained flyer can be traced to one shaft instead of immediately blamed on the scope or shooter.
Inspect Every Bolt, Nock, Vane and Insert
Every hunting bolt needs to pass an individual hands-on inspection. Checking only one shaft from the group is not enough.Ready to Continue
Remove From Service
Minutes 13–14
Inspect each ferrule, tip and blade under bright light. Replace chipped, rolled, bent or heavily dulled blades. Confirm that replaceable blades, collars, clips, O-rings and deployment components are installed exactly as the broadhead manufacturer directs.
Thread the broadhead completely into the insert and spin the finished bolt on an arrow spinner. Watch the tip rather than only the shaft. A visible orbit or wobble can come from the broadhead, insert or shaft and should be corrected before the bolt enters the hunting quiver.
Do not assume a field-point zero proves broadhead accuracy. Use a practice head or a designated hunting head to confirm the point of impact from the exact bolts that will be carried during the season.
Inspect and Spin-Test the Broadheads
A broadhead that is sharp but wobbles is not hunting-ready. Straight assembly and verified point of impact matter just as much as blade condition.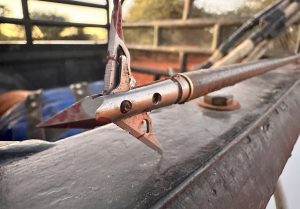
after doing its job
Minutes 14–15
Follow the manufacturer’s unloaded inspection procedure for the safety and cocking equipment. Do not defeat the anti-dry-fire device, pull the trigger without a properly loaded bolt or improvise a test that is not described in the manual.
Confirm that the quiver locks in place, broadhead covers fit, the sling is secure and the case protects the bow without forcing pressure onto the scope, limbs or cams. Pack the crank handle, rope cocker, discharge bolt or approved unloading equipment required by the model.
Complete the Final Field-Readiness Check
The bench check identifies visible and mechanical concerns. The range session proves that the crossbow, scope, bolt and broadhead still work as one system. Use a target rated for the bow’s speed and energy, wear eye protection and follow every loading and cocking instruction.
Build a matched hunting system
The Inspection Is Not Finished Until the Range Test
Stage
Action
What It Proves
10 yards
Fire one field point from a supported position.
Confirms the bolt is safely on the target and reveals a major zero shift.
20 yards
Shoot a controlled three-shot field-point group.
Evaluates group shape, bolt consistency and the primary zero.
30–40 yards
Confirm the hunting reticle marks or scope calibration.
Verifies the scope matches the chosen bolt and actual trajectory.
Broadhead check
Shoot a practice head or designated hunting head.
Compares broadhead point of impact with the field points.
Hunting position
Shoot seated, kneeling or from the support used in the field.
Confirms clearance, eye relief, stability and practical accuracy.
A single flyer can come from the shooter, rest, bolt, nock or broadhead. Number the bolts, shoot controlled groups and look for a repeatable pattern before adjusting the reticle.
Strings, cables, serving, cocking ropes, scope batteries and worn accessories are normal service items. Cracked limbs, recurring timing problems, damaged trigger components, stripped structural threads or obsolete safety systems can make a repair more complicated and expensive.
Ask a qualified dealer for a repair estimate and confirm parts availability before investing heavily in an older bow. When repair costs approach the value of a safer, quieter or easier-to-cock replacement, compare current models in Crossbow Magazine’s guide to the best crossbows.
When to Repair the Crossbow—and When to Replace It
Usually a Service Item
May Justify Replacement
☐ Crossbow is unloaded and uncocked
☐ Limbs have no cracks or splinters
☐ Cams and axles show no damage
☐ String has no broken strands
☐ Center serving is tight
☐ Cables show even wear
☐ Rail or flight track is clean
☐ Approved maintenance products used
☐ Cocking ropes and hooks are intact
☐ Safety operation is normal
☐ Scope base and rings are secure
☐ Scope battery is fresh
☐ Stock, stirrup and sling are secure
☐ Every bolt has been inspected
☐ Nocks match the crossbow
☐ Vanes and inserts are secure
☐ Finished bolt weight is approved
☐ Broadheads are sharp and intact
☐ Broadheads spin true
☐ Field-point zero is confirmed
☐ Broadhead impact is confirmed
☐ Hunting-position accuracy confirmed
☐ Cocking equipment is packed
☐ Approved unloading equipment packed
Printable Crossbow Preseason Checklist
Crossbow Preseason Maintenance FAQs
Fifteen disciplined minutes can prevent a loose optic, damaged nock or worn serving from becoming the story of opening day. Work from the limbs to the broadheads, separate normal wear from structural damage and resist the temptation to perform repairs that the manufacturer assigns to a dealer.
Once the crossbow passes the bench inspection, prove the complete hunting system at the range. Confirm the exact bolts, broadheads, scope settings and shooting supports that will be used in the field. A crossbow is not preseason-ready merely because it is clean—it must also be mechanically sound and consistently accurate.
Continue building your crossbow setup
Final Thoughts
Maintenance requirements vary by brand and model. Review the exact owner’s manual as well as current guidance from
Ravin Crossbows,
TenPoint Crossbows and
Barnett Crossbows.
Per our affiliate disclosure, we may earn revenue from the products available on this page. To learn more about how we test gear, click here.