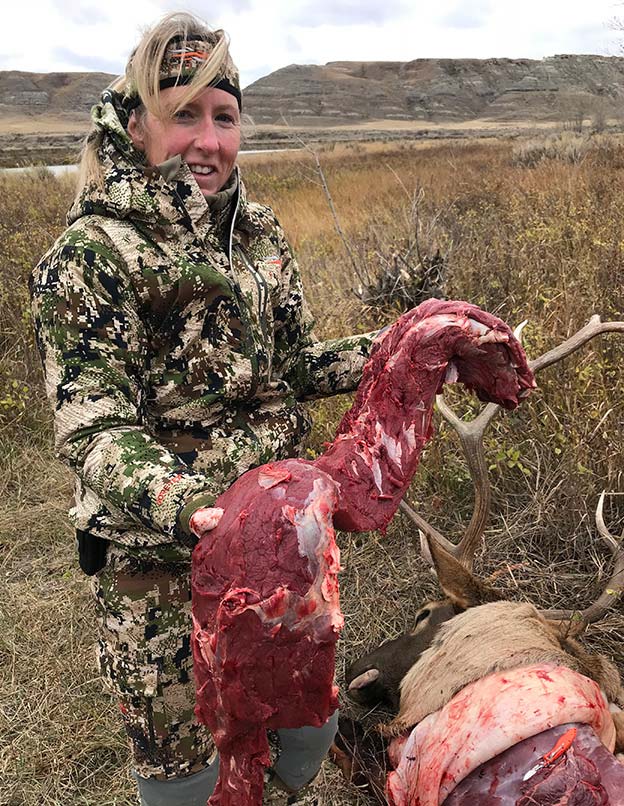
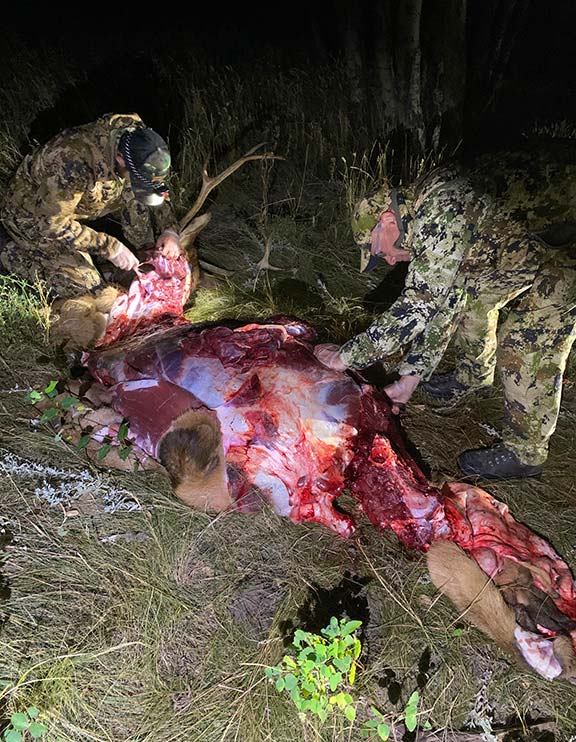
Paying your dues, getting the shot and walking up to an animal. These are the exciting elements of most hunts. Then, the real work begins. Depending on where your game falls, extracting it can be a challenge. You may be miles from your truck, in a deep canyon, high on a mountain or in thick cover. All those scenarios may disqualify you from using an ATV or even a game cart. Some big-game animals like moose, elk or even northern deer are simply too heavy to drag out by hand. In these instances, breaking your animal down and taking it out on your back makes the most sense. This is when field dressing, using the gutless method, shines.
Extracting harvested game, especially elk, moose, wild sheep, mountain goats or even deer or bear from remote alpine or other backcountry locations can seem like a tall order. While game like smaller deer or antelope you’ve taken on farmland can often be gutted, dragged and loaded into the back of a pick-up, bigger critters are almost always more challenging. In these instances, breaking the animal down and extracting it a piece at a time is the best option. Rather than opening the body cavity and pulling out the internal organs, in these situations, it’s cleaner and quicker to field dress your animal using the gutless method.
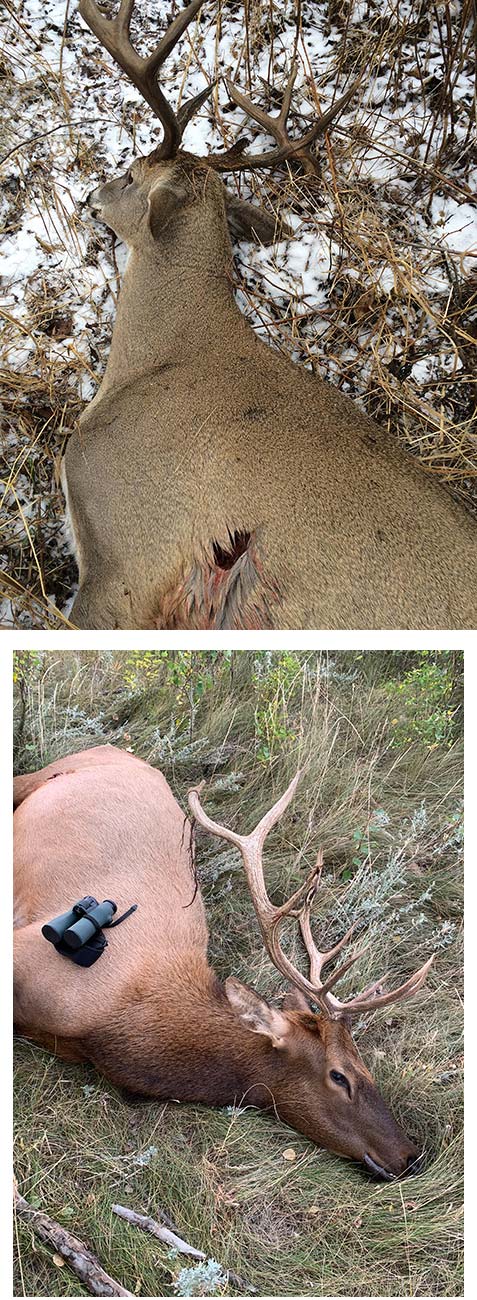
Tools, Supplies
To properly prepare for field dressing using the gutless method, be sure to pack the tools and supplies you’ll need before venturing out into the woods. Cleaner is always better. Remember, this is your food, so plan to make every effort to cool the meat as quickly as possible and keep it free of hair and debris.
Keeping the meat clean can be a challenge, but with some foresight, it can be done. Commercial antimicrobial game bags or cheesecloth, made by companies like Alaska Game Bags, Hunter’s Specialties and Koola Buck, are good options. They can be a bit more expensive but they’re well worth the investment. Alternatively, using bed sheets is a more economical option. They’re less expensive and they can be washed and reused. A quick trip to Wal-Mart and you can buy inexpensive bed sheets that can be cut to whatever size you want for a fraction of the price. Beware though, any material you use must allow the heat and moisture to escape and get that dry skin to form on the outside of the meat as quickly as possible. My one exception to using game bags is when I know there is a high density of grizzly bears in the area where I’m hunting. Black bears can be an issue as well, but grizzlies in particular are a serious concern. In these instances, I’m a firm believer in using clear plastic bags for packing and carrying the load. Know that black plastic trash bags are often treated chemically, so it’s best to avoid using them for meat. When I use the clear plastic bags, I capitalize on opportunities to cool those bags in a stream or in snow if it’s a long hike out or if I stop to camp for the night.
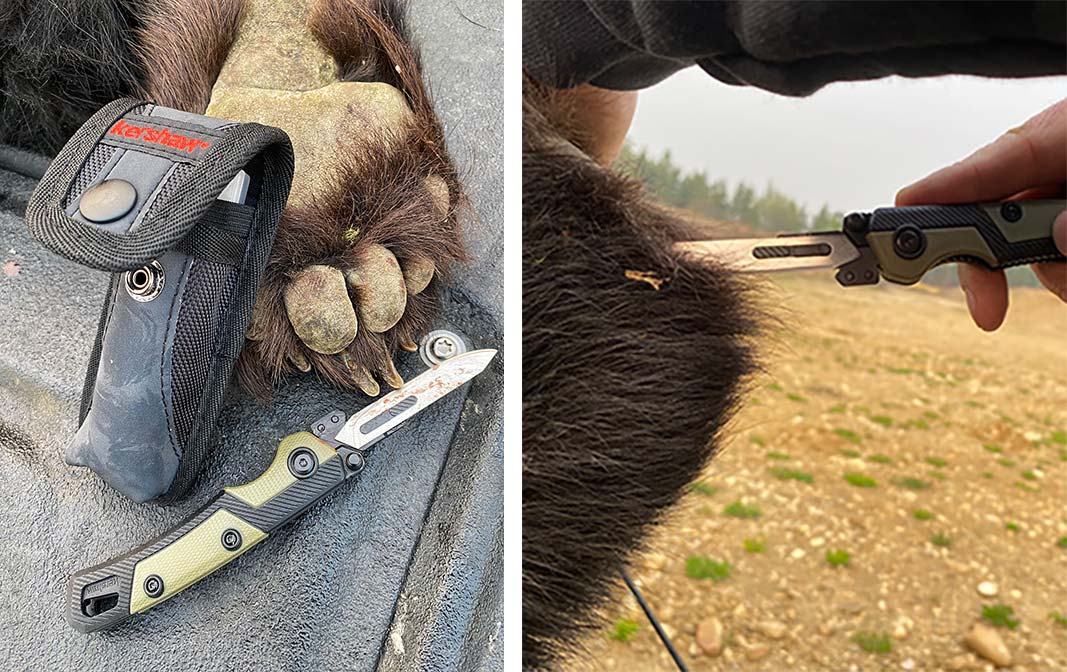
Aside from bags or sheets, a quality hunting knife (with a sharpener or replacement blades), latex gloves if desired, a bone saw (helpful, but not imperative if you have a knife with a stiff blade), and either a roll of poly or a tarp are all that’s needed to get the job done.
Initial Incisions
First, decide whether or not you want to cape the animal for a mount. If so, you’ll need to do some shuffling to remove the cape. Remember, your incisions and cut lines matter. If you don’t care about keeping the cape or hide, your job becomes easier. As the name suggests, the gutless method involves leaving the stomach and other organs inside the ribcage while you dismantle the quarters, backstraps, tenderloins and whatever other usable meat exists on the animal. Your goal is to break it down into manageable pieces.
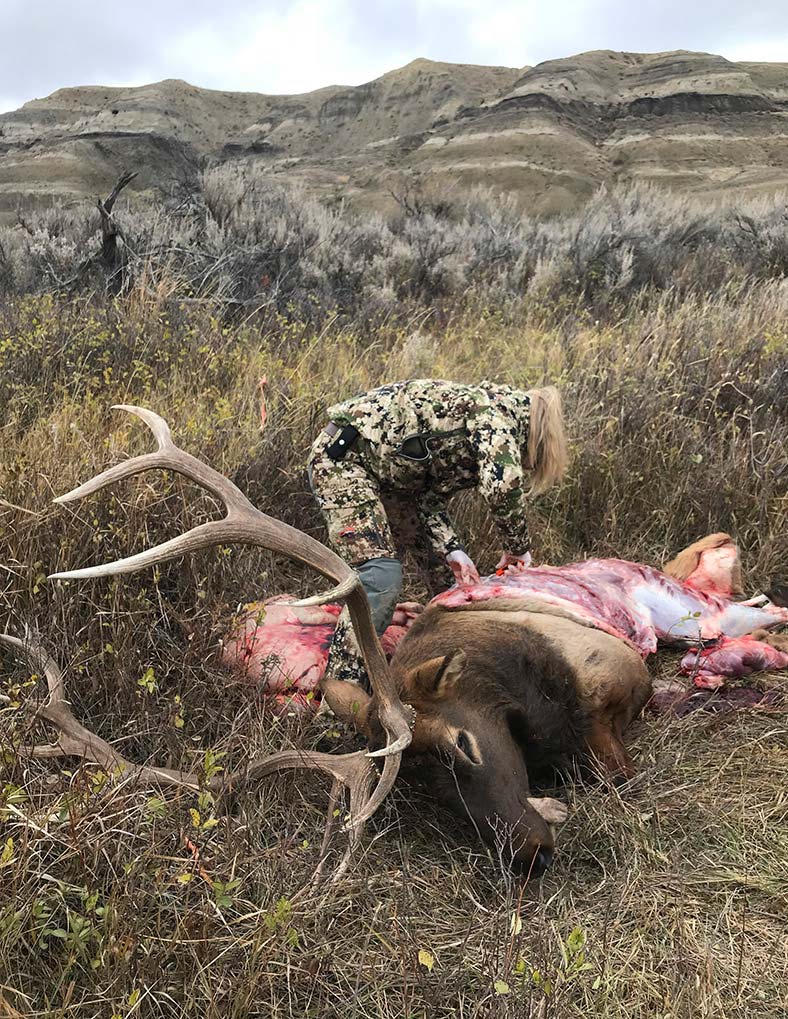
Begin the process by rolling the animal onto one side and skinning the visible half. This is done by making a centerline cut up the belly and then up the elbow of the front leg and knee of the hind leg. Carefully peel the hide away and peel it back to at least the center line of the back. You will end up with a blanket of hide that can be pulled back or folded over the carcass in place. If you have a tarp or sheet of poly to lay behind or under the animal, that can help keep things clean. If not, the hide can serve that function by pulling it away and laying it out on the ground.
Hind Quarters
I usually begin with the hind quarter simply because the more rigor mortis sets in, the more difficult it is to work that area. Having two people—one to lift and the other to cut—can make this job a lot easier. With the hind quarter skinned and exposed, lift it upward and begin cutting along the underside of the hip joint. The more you cut, the easier it will be to lift. You will eventually work your way into the tendon where the ball socket joint meets. Once that tendon is cut, the entire quarter will flop right over, regardless of how stiff everything else is. When that quarter is clipped free and flops over, continue cutting to peel it away from the pelvis bone. A little precise cutting around the ball joint, and it will be free. With game bags or bed sheets laid out, separate and lay the quarter out in a bag or on the sheet. In many situations, it can be beneficial to remove bones from each quarter as well.
Front Quarters
Next, remove the front quarter. My good friend and seasoned butcher Dean Schlecker refers to separating the front quarter as “seaming it between the shoulder plate and ribs.” With no joint or socket to deal with, front quarters are much easier to remove. Lift the front leg and make your cut underneath where the leg joins the torso against the lower portion of the brisket and ribcage. Then make your incisions along the visible seam until the quarter can be easily pulled away and placed in a bag or wrapped in a sheet to protect it from flies and debris. If weight is an issue, you can go one step further with each of the quarters by cutting the bones out and leaving them behind.
Backstraps
On either side of the spine are the backstraps, the coarse sections of meat in front and above where the pelvis and hip bone meet. These substantial and rather fine strips of meat can be easily removed by making cuts along both sides of the length of the spine from the pelvis toward the shoulder. Like filleting a fish, make the next cut parallel along the top of the ribcage by following the rib bones. Cut past the back of the ribs until they connect with your spine cut. Be careful not to puncture the body cavity as there are no ribs to protect it in front of the pelvis. Carefully sever that portion of meat in one long chunky piece, ensuring that no meat is wasted. The end product will be a long and heavy slab of backstrap meat.
Tenderloins
Whatever you do, don’t forget the tenderloins! Arguably the finest meat, they are delectable. Starting where the last rib is located and running to the pelvis bone, the tenderloin is a fine strip of meat located inside the body cavity, up and behind the stomach. Yes, even using the gutless method, you can remove this fine cut. Exercising caution not to puncture the stomach, use a scalpel blade if possible (i.e., something like a Kershaw or Havalon with replaceable blades works well). Sever and remove this muscle, which is located in front of the pelvis where it connects with the spine. Sometimes I’ll cut the last rib just to be able to reach in and access this. Usually, the tenderloin is so fine that it can mostly be separated by hand. A few gentle cuts and it will be easily removed.
Other Useable Meat
Aside from the front and hind quarters, backstraps and tenderloins, be sure to cut away any other usable meat that you can. Some of this can be used in stews or sausage, among other things. While some people disagree, I’m a firm believer in taking as much rib meat and even the neck meat as well. Once these steps are complete for one side of the animal, roll it over and repeat to field dress the other side. The end result will be a ribcage with the guts inside, the neck, and the pelvis/hip bone. Done correctly, it will look reasonably clean with little left for scavengers.
Regulations, Requirements
If you plan to use the gutless method, consider important regulatory requirements. Depending on your state, province or specific jurisdiction, there are likely to be specific rules that must be followed. Note when and where the game animal has to be tagged along with requirements around registration. Some jurisdictions even have rules around extracting meat first and head last.
Most jurisdictions have regulations around retaining evidence of sex and the properly tagged portion(s) of the animal intact. Other regulations often address the hunter’s responsibility to salvage all meat fit for consumption.
Per our affiliate disclosure, we may earn revenue from the products available on this page. To learn more about how we test gear, click here.

